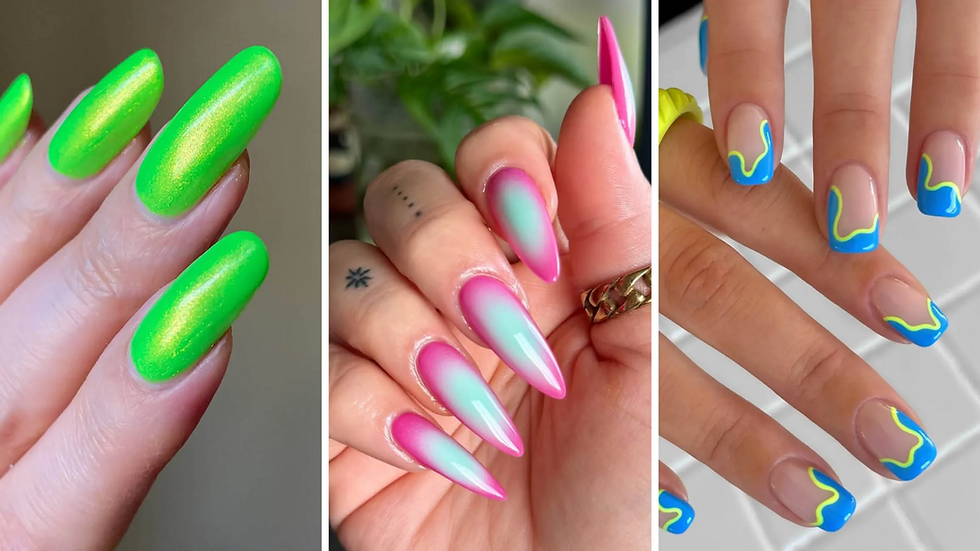
Are Shellac Manicures Killing Your Budget? Do It At Home
- The Shampoo Lounge

- Jan 16, 2021
- 4 min read

Ever look at someone doing an activity and think, "I can do that!" before realizing that 90 percent of the time, we wind up having learned how difficult it actually is? Some things should just be left to the professionals—Shellac is supposed to be one of them. "CND SHELLAC was carefully formulated as a system," says Roxanne Valinotti, Global Education Director for CND. "Every part of the system was designed to preserve the integrity of the nail’s health…any incorrect preparation and/or removal may cause inconsistent results or nail damage."
Of course, life often gets in the way of our best-laid manicure plans, and we're suddenly in a DIY moment. With research, time, and practice, you can save some coin in your wallet every few weeks by skipping the nail salon and doing your own mani-pedi in the comfort of your own abode. Not only can you find Shellac polishes online, but the UV light you need to cure the polish is available on beauty sites like Sephora or Amazon, too.
We asked nail artist Hang Nguyen and Valinotti for advice and a step-by-step breakdown of how to get Shellac nails at home. Keep reading to see the steps turn your couch into your very own nail salon.

01
Preparation is Key
For a beautiful, long-lasting mani, make sure your nails are in tip-top shape. Start by removing any existing polish, then buff and file them into a shape you like. Then, clean up any cuticles with a nipper and push them back. "Use alcohol afterward to be sure the nails are free from any oils," Hang recommends.
PRO TIPS:
"Avoid using coarse emery boards or buffers that can scratch the surface of the nail plate," warns Valinotti. "This can thin out nails and cause deep scratches that will be visible after polish application." Make sure you've got a very fine-grit buffer or file, and use the lightest pressure possible.
02
Pick Your Products
Here's what you'll need to achieve your dream DIY manicure:
• A CND Shellac Base Coat Rp. 350.000 at @hairshop.store
• A CND Shellac Top Coat Rp. 350.000 at @hairshop.store
• A CND Shellac Color of Choice Rp. 350.000 at @hairshop.store
• A CND UV LED Gel & Shellac Nail Polish Curing Lamp
• A cleanup brush to keep handy for cleaning up any polish that spills to the nail’s sidewalls or cuticle area
• Polish remover to help clean up any imperfections
Check our sister company Hair Shop Store WhatsApp +62 813-3896-6331 or click this link to go directly to WhatsApp for your color preferenceof CND Shellac gel.
There are alternative UV lamps for nail polish out there, but "the product formula is specifically calibrated to the light energy output of the CND™ LED Lamp, which ensures proper cure," says Valinotti. Do your research and read plenty of reviews if you're going to venture off-brand.

03
It's All About The Polish
After shaping your nails and cleaning up your cuticles, it's time to get polishing. Shake your base coat to mix the ingredients, and apply a thin layer of base coat to each nail, working on one hand at a time. Cure the base coat under the lamp for 60 seconds, ensuring each finger is touched by the lamp's light, especially the thumb. "Sometimes, the thumb tends to hide from the light, so it doesn’t get cured properly," says Hang.
04
Color + Clean
Follow that first layer of base coat with your chosen color, applied in thin layers, and cured for 60 seconds between each color. You'll want to apply at least two coats, more if you're looking for a more-opaque polish.
05
Finishing The Job
Finally, finish your mani by topping it off with a thin layer of top coat and curing one final time for 60 seconds. "Always moisturize your nails and oil up your cuticles after curing," Hang suggests as a preventative measure to keep your cuticles from feeling dried out.

06
Re-application With Finesse
CND SHELLAC has a unique and innovative formula that when cured with the CND LED Lamp, solvents evaporate out and form microscopic tunnels throughout the coating," says Valinotti. "Though these are not visible to the eye, they play a very important role for nail health and removal, as when an acetone-based remover is applied, it floods these tiny tunnels, which causes the CND SHELLAC to break into pieces, and the base coat releases from the nail." This means minimal scraping, scrubbing, or buffing to remove the old polish, leaving your nail health in great shape. However, if you have been wearing Shellac back-to-back for a long time, it is highly recommended to take a break in between to nourish your natural nails with cuticle oil and hand conditioning treatments. Using a nail strengthener, like Duri Rejuvacote 1 ($14), on your off-days will benefit your nails greatly.
07
The Benefits of DIY-ing Shellac
Doing your nails at home can be both cost- and time-effective if done properly. In the case that your nails chip after leaving the salon, but you can't get an appointment to fix it, it's an easy DIY solution to have in your back pocket. It can be massively convenient if you have an event to go to at the last minute and cannot schedule an appointment at the salon—honestly, a mani in that context is goals. Especially for the gel removal, you can wait for when the gels are actually lifted, instead of your nail tech being in a rush to remove the gels and not letting them soak in long enough, leading to more gorgeously-cared-for nails.
article is written Jen Adkins by for Byrdie


Comments